Your cart is currently empty!
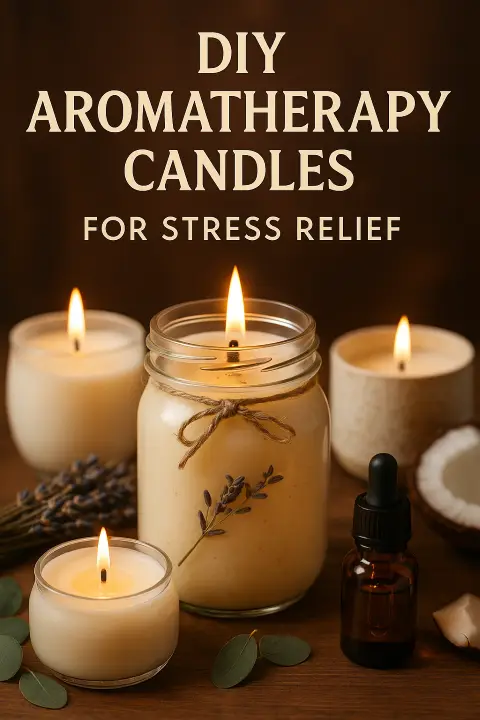
DIY Aromatherapy Candles for Stress Relief
Soothe your soul one scent at a time
In today’s non-stop world, stress is part of life — but it doesn’t have to run your life. One simple, beautiful way to reclaim your calm? DIY aromatherapy candles. These stress-busting candles combine the power of scent with the glow of candlelight to transform your space into a personal wellness retreat.
Whether you’re a candle lover, a wellness seeker, or just someone who needs a break — this guide will walk you through the benefits, ingredients, and how to make your own therapeutic candles at home.
Why Aromatherapy Works
Aromatherapy uses essential oils extracted from plants to promote physical and emotional well-being. When inhaled, these scents interact with your brain’s limbic system — the part responsible for emotion, memory, and mood.
Stress-relieving essential oils include:
- Lavender – Calms anxiety, promotes relaxation, and improves sleep
- Bergamot – Uplifts mood and reduces nervous tension
- Eucalyptus – Clears the mind and improves breathing
- Ylang Ylang – Lowers blood pressure and eases frustration
- Chamomile – Soothes irritability and promotes emotional balance
What You’ll Need
Ingredients:
- 1 cup soy wax flakes (or beeswax/coconut wax)
- 1 tbsp coconut oil (optional, for smoother burn)
- 20–30 drops essential oil(s) of your choice
- 1 cotton or wood wick
- 1 heat-safe container (glass jar, ceramic cup, or tin)
Tools:
- Double boiler or microwave-safe bowl
- Stirring stick (wooden skewer, chopstick, or spoon)
- Wick holder (or chopsticks to keep wick centered)
Step-by-Step Instructions
- Melt the Wax
Use a double boiler or microwave to melt the wax flakes slowly. Stir occasionally for a smooth melt. - Add Coconut Oil (Optional)
Once melted, mix in 1 tbsp of coconut oil. This helps extend burn time and improves scent throw. - Add Essential Oils
Remove the mixture from heat and let it cool for 1–2 minutes. Then stir in your essential oils (around 25 drops total). Customize the blend to your mood! - Secure the Wick
Attach your wick to the center of the container using a wick sticker or hot glue. Hold it upright with a wick holder or two chopsticks. - Pour the Wax
Slowly pour the scented wax into your container, leaving about ½ inch at the top. Let it cool undisturbed. - Cure and Trim
Let the candle sit for 24 hours to fully cure. Then trim the wick to ¼ inch before lighting.
Create Your Stress-Relief Ritual
Once your candle is ready:
- Turn off your phone
- Dim the lights
- Light your candle and take a deep breath
- Journal, stretch, meditate — or just be still
This small act of self-care can become a daily reset button.
Bonus: Blends to Try
| Mood | Blend Name | Recipe |
| Calm & Collected | “Lavender Dreams” | 15 drops Lavender + 10 Chamomile |
| Fresh Focus | “Breathe Easy” | 10 Eucalyptus + 10 Peppermint + 5 Bergamot |
| Cozy & Uplifted | “Warm Hug” | 10 Orange + 10 Ylang Ylang + 10 Cedarwood |
Final Thoughts
Making your own aromatherapy candles isn’t just fun — it’s healing. You’re crafting a natural, personal escape from daily stress. And best of all, you’re doing it with ingredients you trust and scents you love.
Take the time to make one — or a few — and feel the shift in your mind and your space. You deserve peace
Leave a Reply